Setup TeamCity on an Azure Virtual Machine for Windows 8 Metro Style Apps
I’ve been using TeamCity for a couple years now. Previously I installed Cruise Control (the mother of all CI servers or PSake a script-based solution). This post gives you some advice on how to setup a continuous build for your project. It’s mainly configured like a classic .NET project, the only difficulty lies in the tests configuration since it’s a new kind of runner.
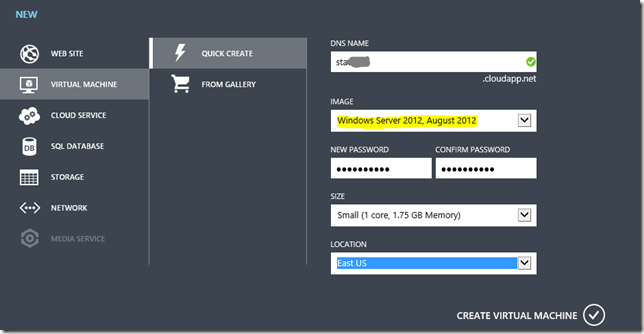
- Create a new virtual machine with Windows Server 2012
- Create a new endpoint for the port 80 on TCP (or the port on which Team City will listen)
- Attach a new data disk to be able to migrate more easily the TeamCity server to another machine
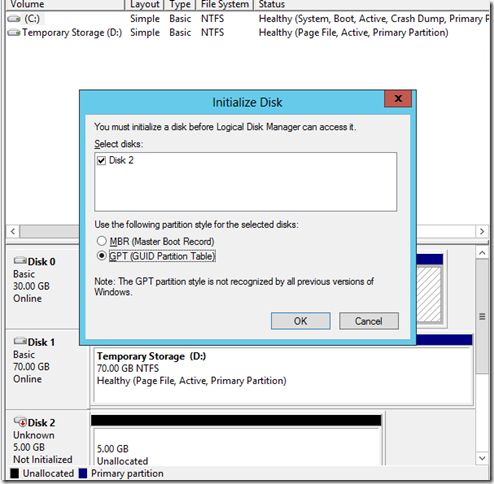
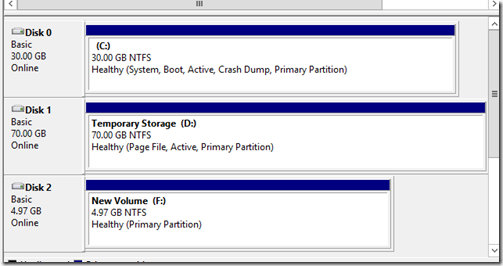
- Connect trough the toolbar and format the new data disk: tap Windows key >; tap “Computer” and choose “Computer Management”. You should see the following popup. After initializing it, right click on it and choose “New Simple Volume” to format it and assign a letter (here F:).
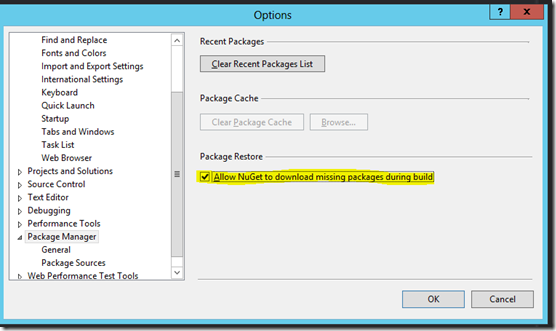
- Install Visual Studio Express 2012 and activate NuGet restore (the packages are not in my source control repository since NuGet has a feature to restore the packages at build-time). Click on Acquire a developer license in the STORE menu.
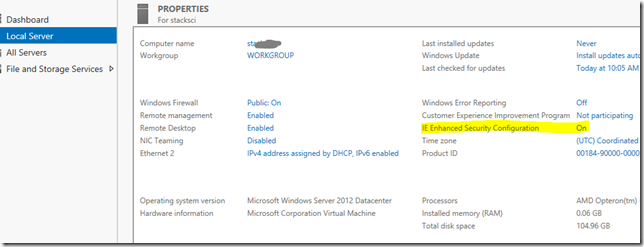
You can disable the infamous IE Security here:
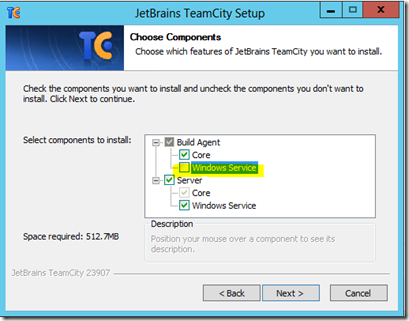
- Install Team City on the new Data Disk. Uncheck the Service option for the build agent since we are going to use the command line start option. And change the location of the data directory (by default it’s on the OS disk under the ProgramData directory) by changing the environment variable (http://confluence.jetbrains.net/display/TCD7/TeamCity+Data+Directory)
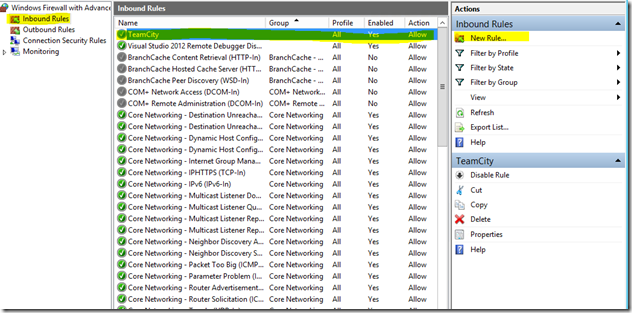
- Add a Firewall rule to enable the port 80
7a) Create a user with all access to the TeamCity agent folder, give it the remote access control of the server
-
Install Git http://code.google.com/p/msysgit/
-
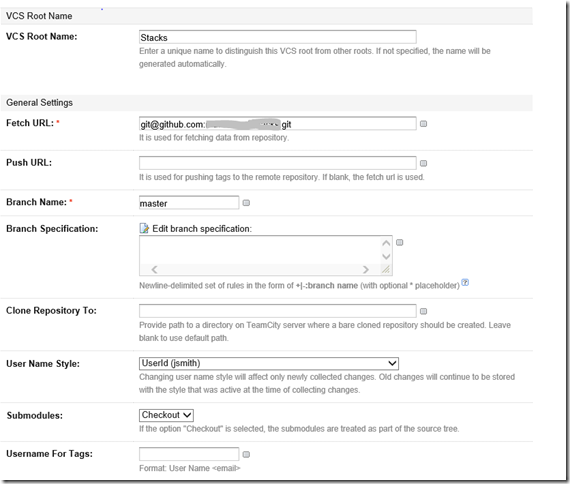
Add a new build configuration with Git as the VCS :
add a ssh key to your account by following those instructions: https://help.github.com/articles/generating-ssh-keys
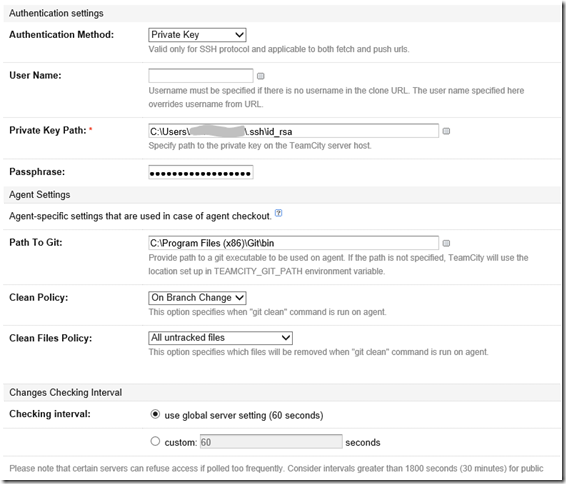
And now you can use this key to checkout the code with TeamCity:
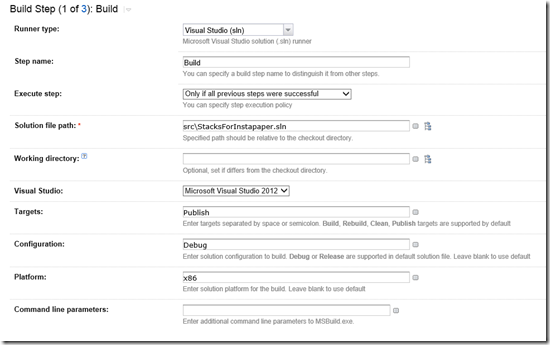
- Add a build step and choose Visual Studio with the path to the sln file. Choose Publish as the target.
-
Start the agent manually in (F:\TeamCity\buildAgent\bin) : agent.bat start and run your build configuration to check that the solution can be build.
-
In Visual Studio 2012 you have the new Test Explorer Window to see and execute your tests. You also have a command line version of this runner. I was not able to run the agent as a service because the test runner needs an interactive process.
On the server, run this command from the Unit Tests project directory:
[sourcecode language=“text”] Certutil –importpfx thenameofthecertificate.pfx [/sourcecode]
with the actual filename found in the directory of the test project (by default the password is blank). You should see the following lines:
[sourcecode language=“text”] Certificate “CN=XXX” added to store. CertUtil: -importPFX command completed successfully. [/sourcecode]
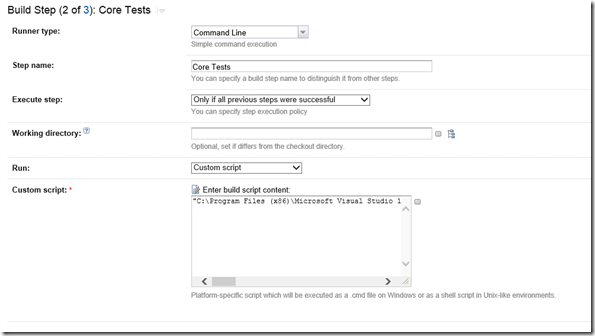
- Add a Command line step for each project with this script:
[sourcecode language=“text”] “C:\Program Files (x86)\Microsoft Visual Studio 11.0\Common7\ IDE\CommonExtensions\Microsoft\TestWindow\vstest.console.exe” F:\TeamCity\buildAgent\work\(…)\AppPackages\(..)\filename.appx /InIsolation [/sourcecode]
The argument is the appx file created under the AppPackages directory.
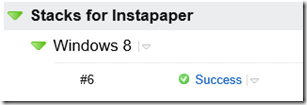
- Run your build configuration
Green is good :)
Billet publié dans les rubriques Programmation on
